DIY Roof Leak Repair: What You Can Do Before Calling the Professionals


Understanding the Source of the Leak
Roof leaks can be a homeowner's nightmare, especially when unexpected weather strikes. Before you decide to call in the professionals, there are a few steps you can take to possibly address the issue yourself. The first step is understanding the source of the leak. Often, the visible wet spot in your home isn't directly below where the leak starts on your roof. Water can travel along roof panels or ceiling joists before it finds a way to drip down.
To locate the source, start by inspecting your attic during a rainstorm or using a garden hose to simulate rain. Look for any water stains, mold, or black marks. Pay attention to any areas where light shines through from outside as these are potential entry points for water.

Basic Tools You'll Need
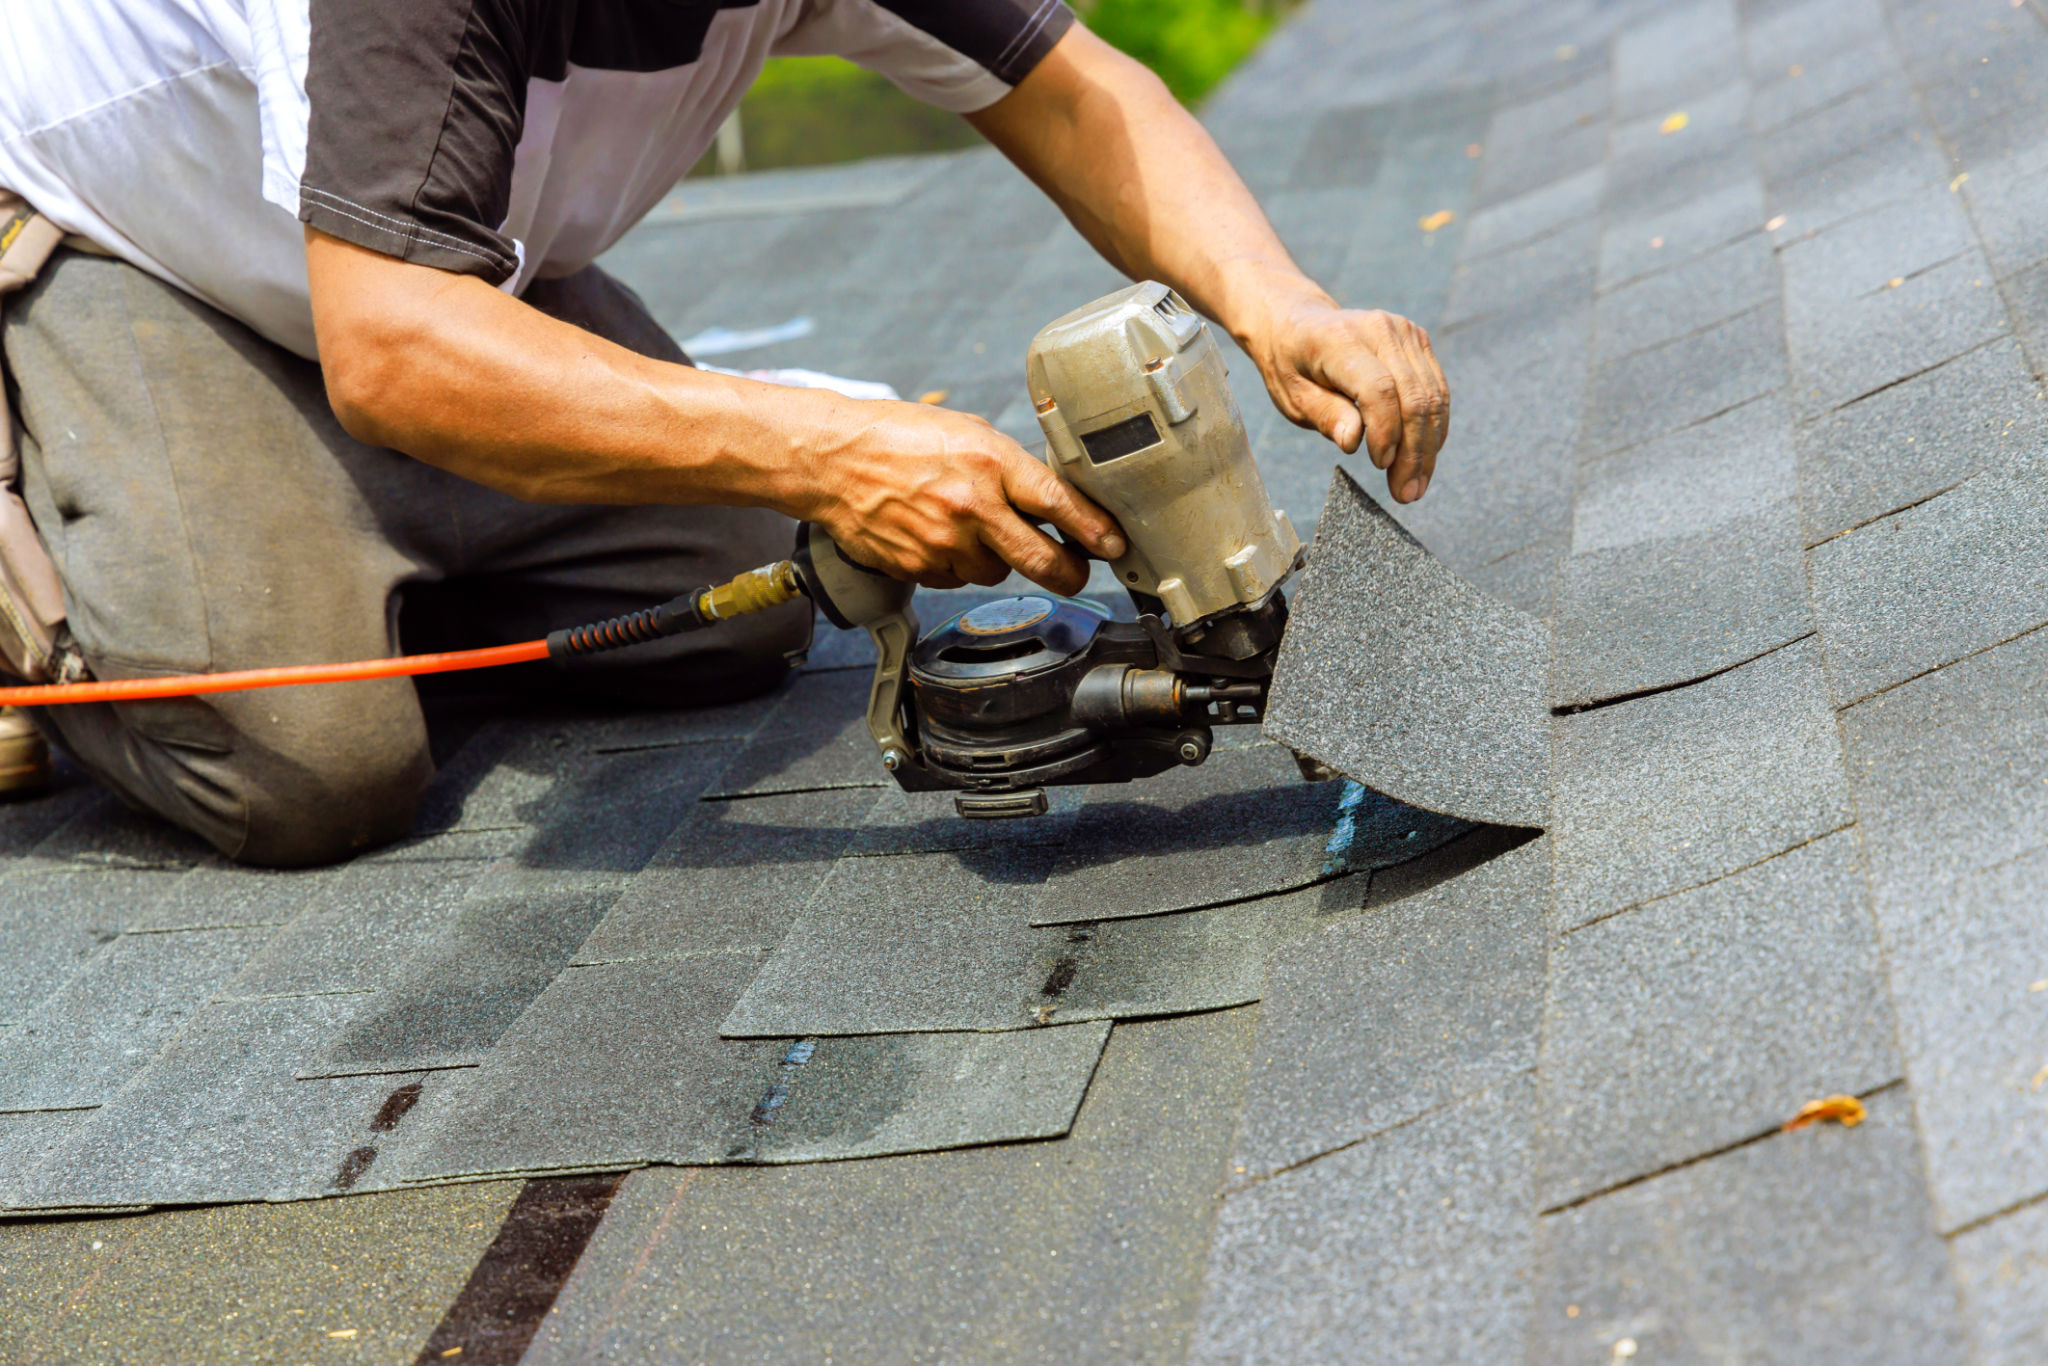
Having the right tools on hand is crucial for any DIY project. For a roof leak repair, you'll need a few basic items: a ladder, flashlight, roofing cement, caulking gun, putty knife, roofing nails, and a tarp. Additionally, safety gear such as gloves and non-slip shoes are essential when working on a roof.
Once you have these supplies ready, you'll be better prepared to address minor leaks that you may encounter. Remember to always prioritize safety and never attempt repairs in adverse weather conditions.

Temporary Fixes You Can Try
If you've identified the source of a leak, you can attempt some temporary fixes before deciding on a more permanent solution. One of the simplest methods is using roofing cement to patch up any small holes or cracks. Apply the cement liberally and spread it out with a putty knife, ensuring that any gaps are completely sealed.
For larger leaks or areas where shingles are missing, using a tarp can provide a temporary barrier against water intrusion. Secure the tarp with roofing nails or bungee cords to prevent it from being blown away by wind.
Inspecting Flashings and Vents
Another common source of leaks is flashing around chimneys, vents, and skylights. These areas are prone to leaks because they involve intersections between different roofing materials. Check these flashings for any signs of deterioration or gaps.
If you find that the flashing is loose or damaged, use roofing cement to reseal it temporarily. For vent pipes, check the rubber boots; if they are cracked or broken, they may need replacement or sealing with a waterproof caulk.

When to Call in the Professionals
While DIY repairs can be effective for minor leaks, there are instances when professional help is necessary. If the damage is extensive or if you’re unable to locate the leak’s source, it’s time to call in experienced roofers. Additionally, if your roof is very steep or high up, it may be safer to have professionals handle the repairs.
Making timely decisions when dealing with roof leaks can save significant time and money in the long run. Don’t hesitate to reach out to professionals if you’re unsure about tackling a repair yourself.
Preventative Measures for the Future
Once your immediate leak issue is under control, consider implementing preventative measures to protect your roof from future damage. Regular inspections and maintenance are key to prolonging the life of your roof. Clean gutters and downspouts regularly to ensure proper drainage.
Inspect your roof annually for any signs of wear and tear. Promptly addressing small issues can prevent them from escalating into costly repairs.
By taking these proactive steps, you can reduce the risk of future leaks and maintain the integrity of your home’s roofing system. Remember that while DIY solutions are valuable, professional expertise is sometimes necessary to ensure long-term protection.